
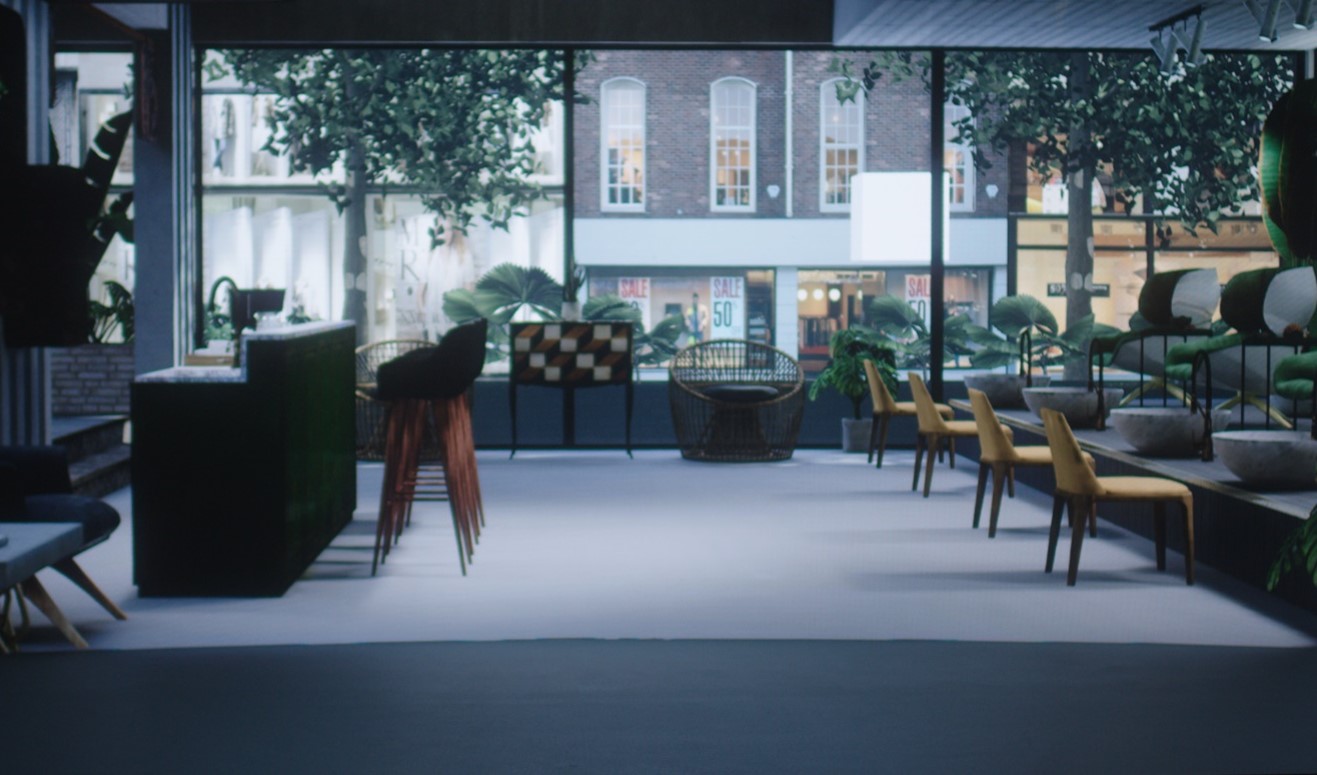
Last time we looked at how to enable Colour Correct Regions, the variables associated with the actor and some general best practices. Today we’ll be blending the floor on an actual scene. We’ve picked a scene that’s available from the UE4 Marketplace that has a mixture of different lighting as generally your LED content won’t be lit in a flat manner.
As you can see, we’ve used a vinyl floor that has a similar texture to our digital content but doesn’t match in value. This is an essential because if your physical floor isn’t close in texture to the digital content you won’t be able to blend them together.
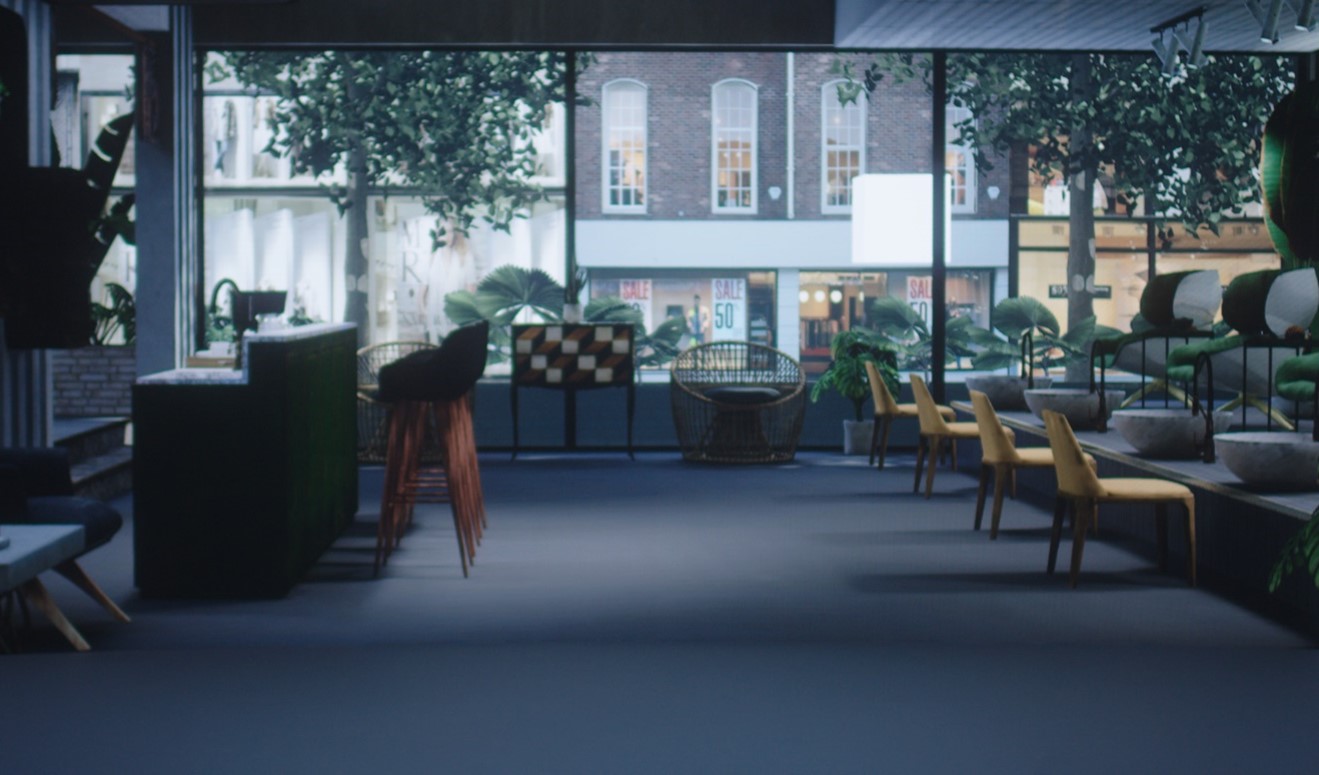
Our next step is to adjust the material on our floor to be closer in value to our physical floor. This was achieved by lowering the brightness override in our Material Instance, but you can also tint the material or adjust the scenes exposure.

Next, we need to remove the dark gradient on the join between our physical and virtual. This is due to the vinyl floor not being completely flat and curving slighting next to the LED wall. One option is to use tape to attach it more securely to the stage, however doing this in most cases will still leave you with a small gradient.
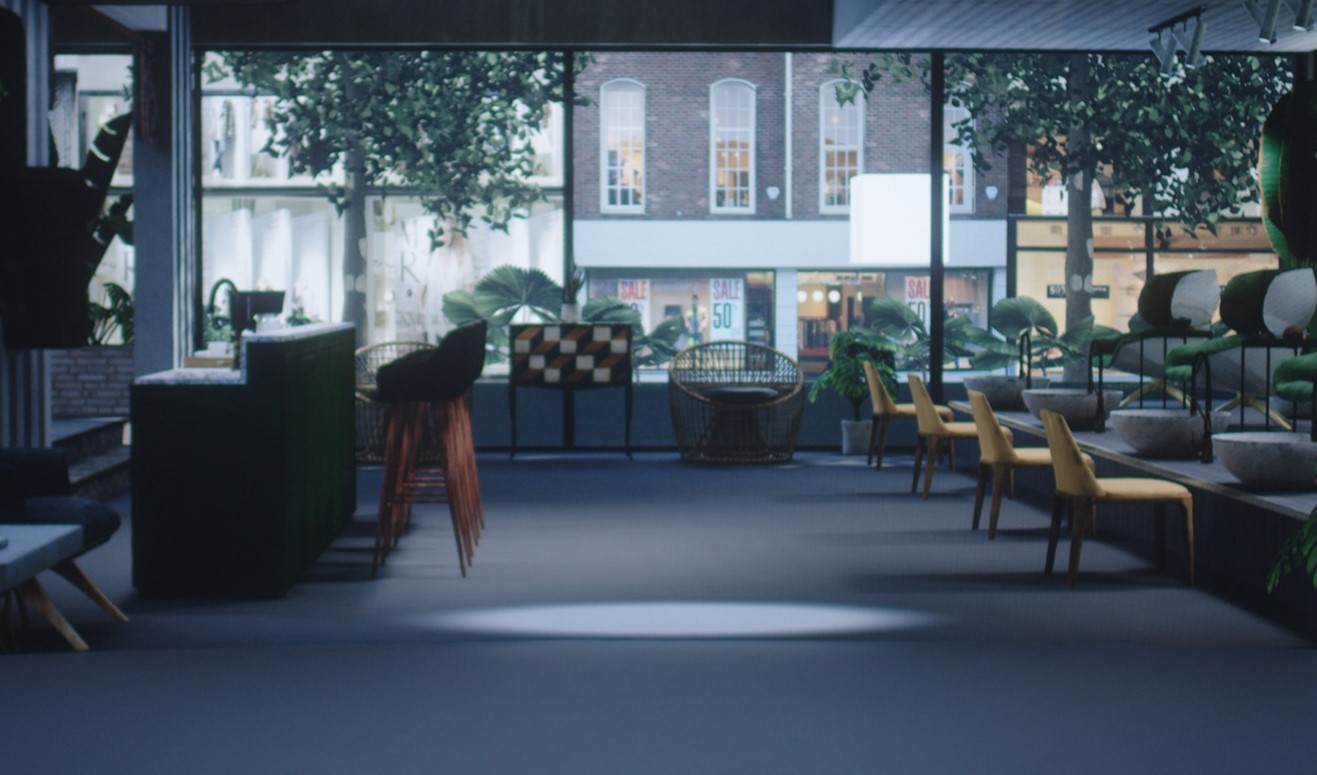
A trick we’ve found that works well is to place a white light card on 1/3 of the LED celling panel closest to the LED wall. This way you can maintain most of the accurate scene lighting but remove the worst of the gradient. Also, the celling intensity can be adjusted to finely tweak this in. Physical fixtures can also be used in lieu of the LED ceiling however you need to be careful of spill on your LED wall and may need to flag them off.
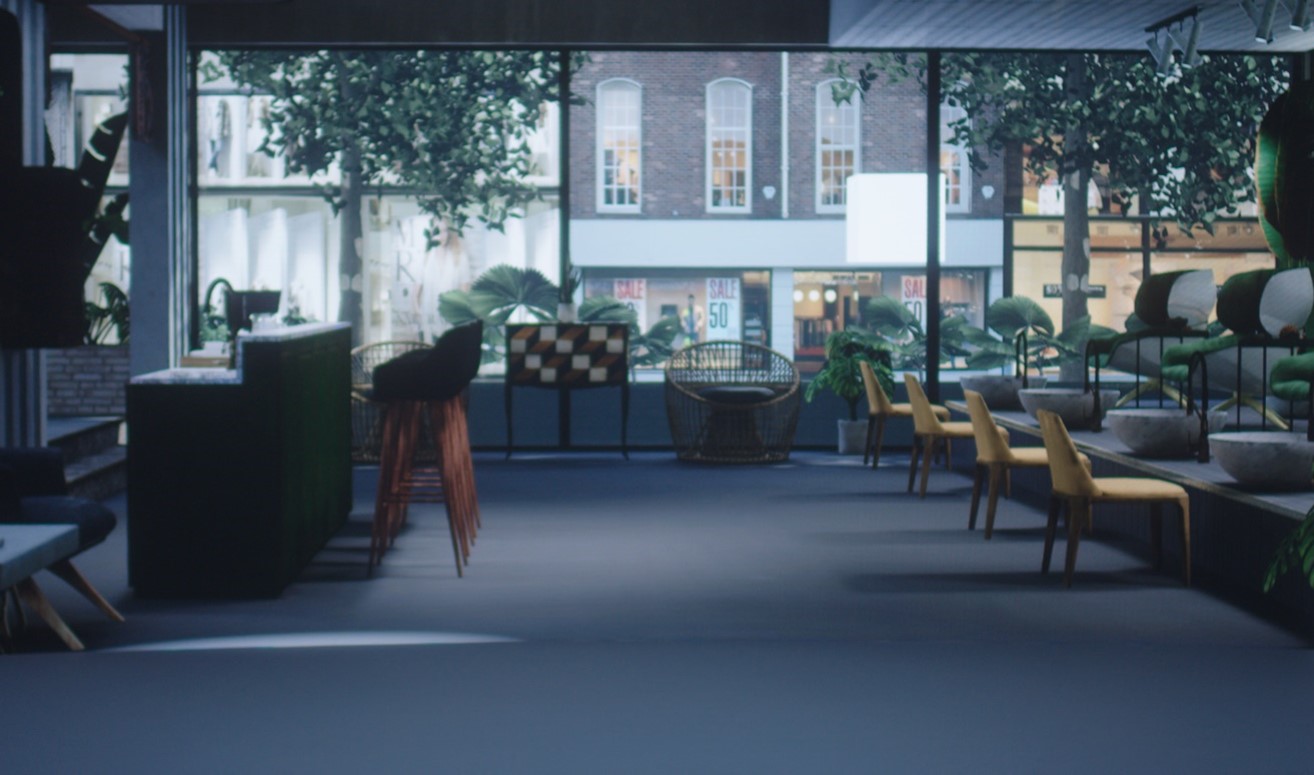
As you can see, we are a lot closer now to a successful blend, CCR should be used for precise adjustments, whereas your Post Process settings, physical lighting and UE4 Materials should be used to get your worlds as close as possible.
Next, we identify the main areas of light and shadow that we will need to adjust, in this case it is one in the centre, and then the two areas either side of it. Place a CCR region in your scene, adjust the shape to suit your LED configuration and adjust the settings so you can clearly see where it is in 3D space. Part 1 of this blog post goes into more detail about CCR and how to manipulate them.

We then by eye start to adjust the settings of our CCR, it doesn’t have to be perfect at this stage, but you should try to eliminate any odd shadows or gradients. Our first setting to adjust is the Gain to closer match the value of our lighting, then we can adjust the contrast to get it as close as possible. As you can see the left half of our CCR is close to our floor, this is fine as we’ll adjust the other half later. This shows that we’ll need more than one CCR to adjust the central floor blend.
We repeat the same step of placing a CCR, adjusting the shape to suit us and making it clearly visible to us. Trying to avoid overlap between our CCR for now.

The lighting on the right-hand side of the camera feed is cooler and has more of a blue tint to it that the rest of the scene. We adjust the colour temperature and again tweak our Gain, Contrast and Gamma settings.

Now that we have a rough blend on the centre and right-hand side of the scene, we place another CCR in-between them, we’re going to make this one more subtle, both in the area it’s affecting and the intensity of the colour grading settings.

It’s not perfect, but we’re getting to a decent point. Something to bear in mind is that your floor blend doesn’t have to be impeccable it just has to be good enough that it can be graded in Postproduction to work. Of course, it is possible to have it work seamlessly in camera and the closer you can get the blend the easier it’ll be to grade as well.

We’re going to repeat the same process on the left-hand side of the stage now.

As mentioned in the previous blog post, normally you would have physical props in the foreground to better blend your physical and digital worlds together. This will be covered in a future blog post but for now we’re going to add a prop in to help break up the different pools of light in our scene. It is possible to blend a floor with no props, but it will be a much longer process.

We’ve added a table to the scene, but as you can see it has dramatically changed how our scene looks. The shadow that it is casting has completely changed the value of our scene. As previously mentioned in part 1, your physical props and lighting should be locked before attempting to blend a scene as small changes can dramatically affect the blend.
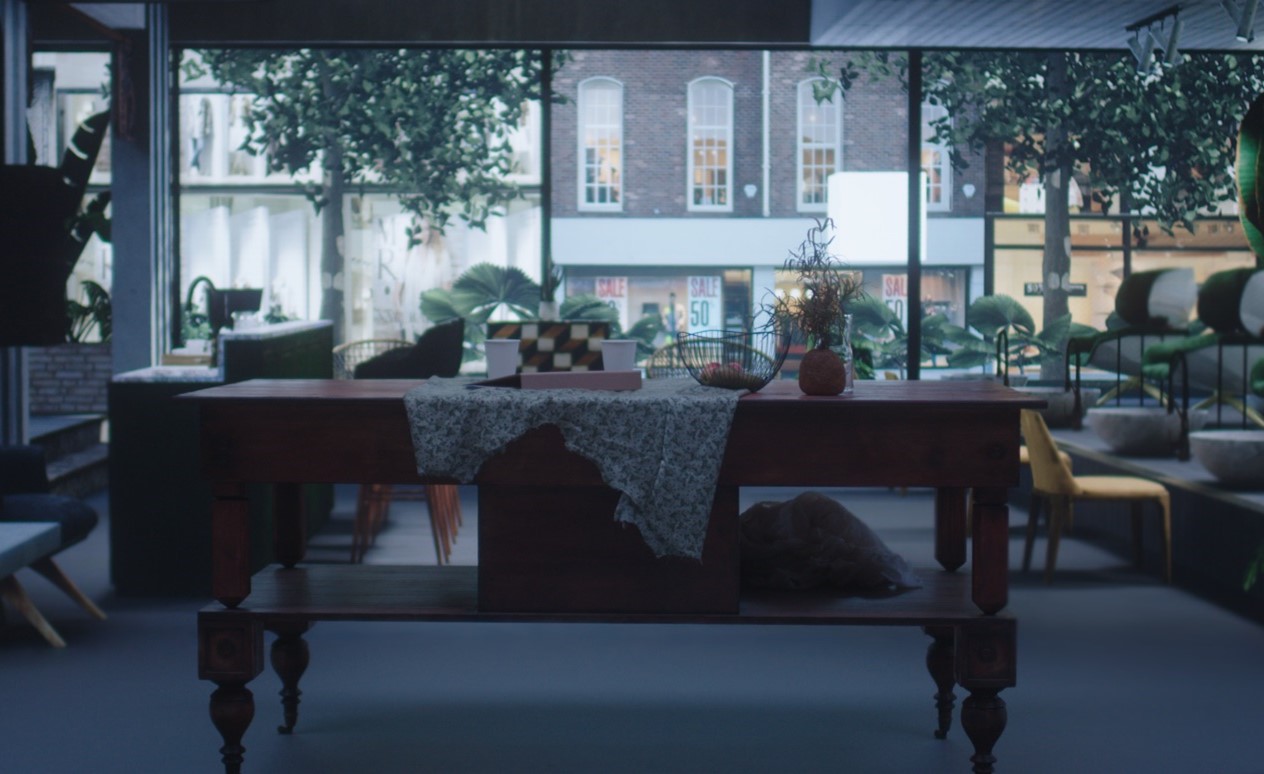
We bring our table closer to camera and still show the section of floor behind it, we could have brought the table slightly closer to camera to completely occlude the join but as you can see just having the table legs breaking up the pools of light, we’ve got a much more realistic blend without changing any of our settings from the scene without physical props.
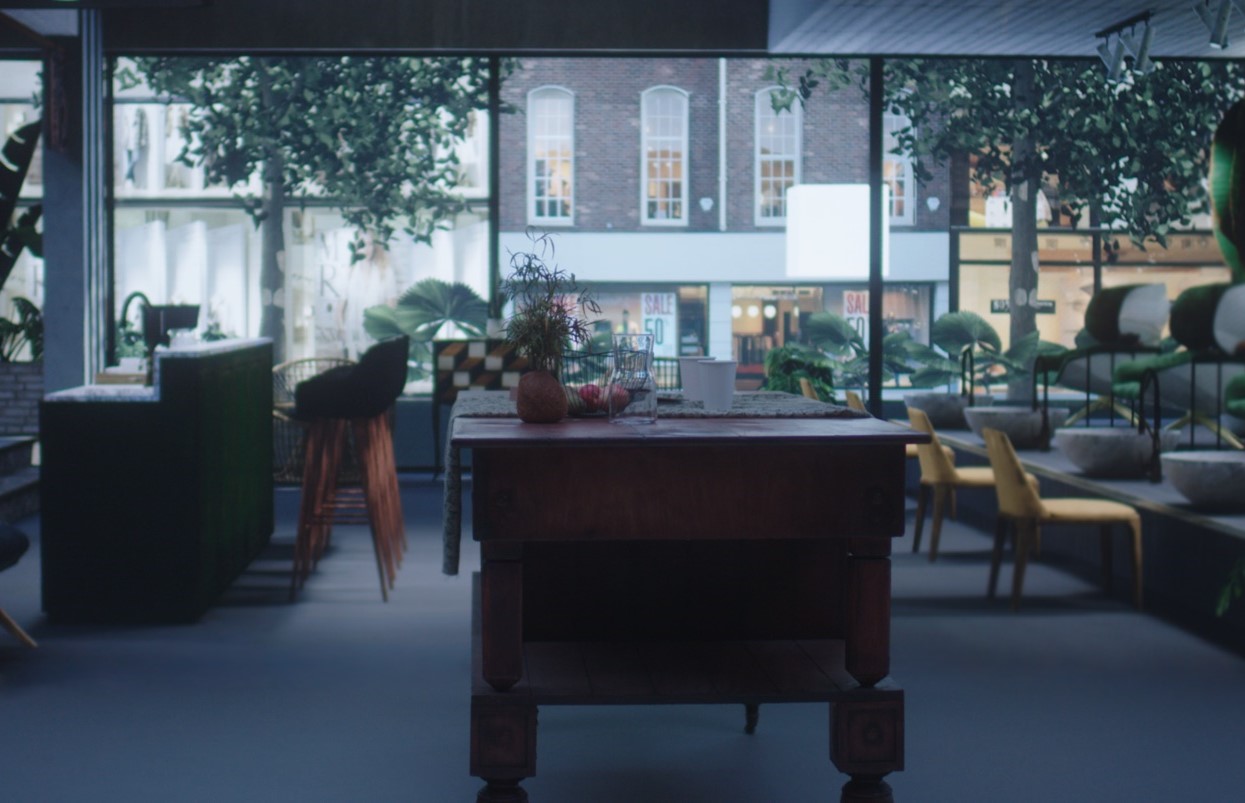
Another option is to rotate our prop to occlude a section of the wall entirely, whilst showing us more of the digital floor overall. This helps to hide some of the trickier areas of our VP content but also shows more of the physical and digital floor which in camera makes the placement seem more organic and less of a cheat.
It is essential to work with the physical and virtual Art Department so there is a believable consistency between your physical and digital worlds.
As you can see CCR are an incredibly powerful tool in your Virtual Production arsenal, and how we’ve used them here is just one of many possibilities. There are best practices and processes that we’ve shared here, but ultimately you will have to adjust them artistically to get the result that you want.
We’d love to see some of your floor blends in the future! I hope you’ve enjoyed reading this post, and that it’s been helpful.